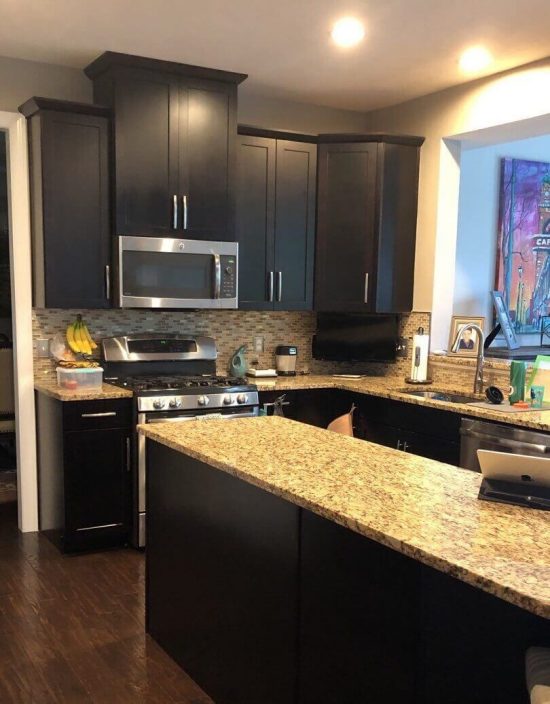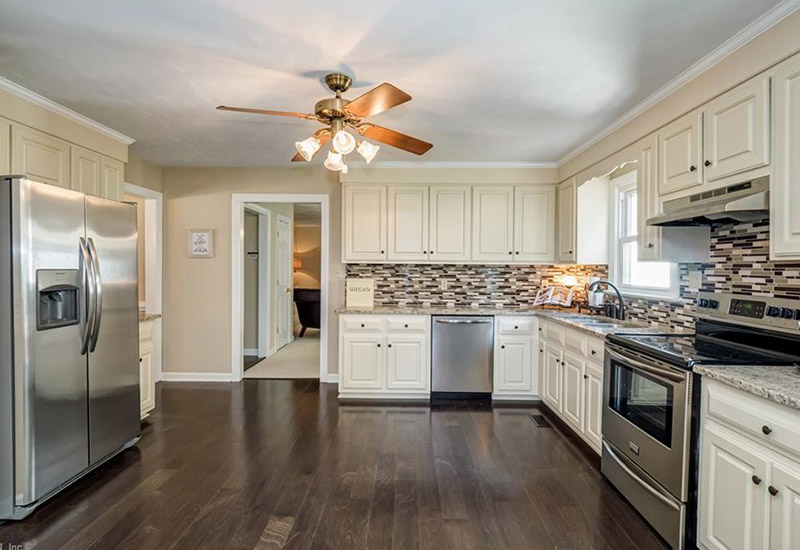
Painting your kitchen cabinets can be a frustrating, but sometimes very needed, task. Making sure you have all the right materials before you start can be half the battle. Also, making sure you do things in the correct order can help a lot as well. Here are the 5 basic steps you should follow to try and make your interior painting project go as smoothly as possible.
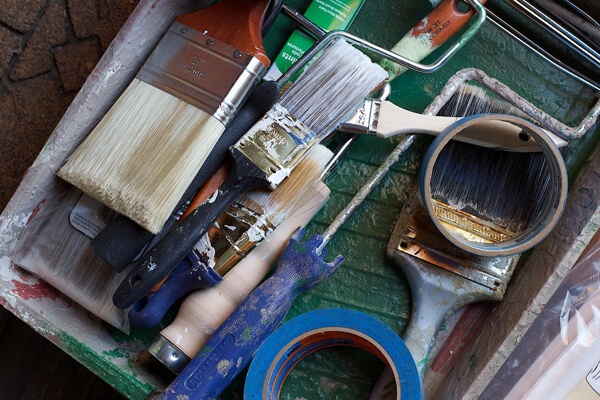
First things first, the materials you will need:
Paint brush
Small roller
Fine-grit sandpaper
Wood sanding block
Tack cloth
Primer/sealer
Painters tape
Semi-gloss paint
And one of the following:
work bench/table
island/counter space
2×4 boards
Drop cloth(s)
Step 1:
Remove everything from the shelves and any drawers you might be painting. Take the doors off the hinges and remove the drawers. Remove all hardware off of everything. It’s best if you place each section of hardware in its own separate plastic bag and label them with the appropriate area so you don’t lose any pieces. Numbering each section can make labeling easier.
Step 2:
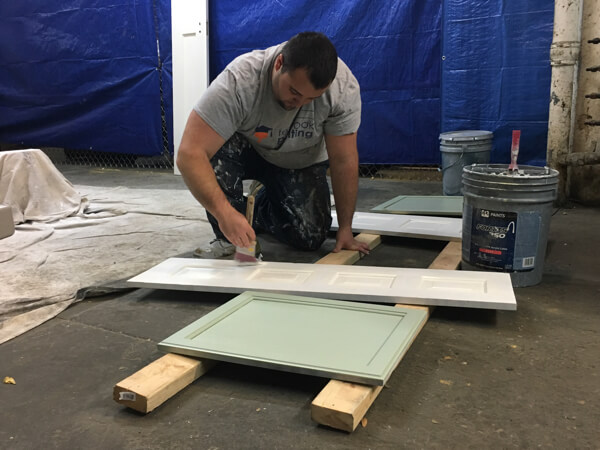
Set up drop cloths or brown builder’s paper on your countertops to help keep any possible splatter to a minimum. Painters tape can help hold everything on the wall better and mark off any areas you may not want paint to go. The drawers and doors should be placed either on a workbench, table, or floor with a drop cloth under them. You can also use 2×4 boards stacked parallel to each other to help prop your doors up and give you a clean paint space around the edges.
Step 3:
Once you have your drawers and door fronts set up in your workplace, scrub them thoroughly to make sure any grease is removed. Make sure to let them dry completely before sanding. Once you start to sand, make sure to make everything smooth – all sides and faces. A wood sanding block will help with making sure you don’t round over any of the edges. If the old paint is sound still, you don’t have to sand down to bare wood – just do enough to roughen the surface to give the new paint a good surface to adhere to.
If you had any previous flaking of paint, this means the paint didn’t adhere well to the surface – usually from grease or moisture that got under the paint or into the wood itself. You will need to use a stain-killing primer/sealer after you sand down to bare wood before painting. This will make sure your next set of paint will adhere correctly then.
Make sure to vacuum any dust left from the sanding, and use a tack cloth on the drawers and doors to make sure all the dust is picked up. This is very important to do before your start painting. Any sanding particles left can leave possible imperfections in your paint job.
Step 4:
Now that you have sanded and primed, if needed, you should be ready to paint. Check out this post about different colors for your cabinet painting. A semi-gloss paint like Sherwin William’s Emerald Urethane Trim paint would be a great choice for this type of project. If you’d like to see other paint options though, check out this post about the Best Interior Paints for Your Home.
When painting, you should use long brushstrokes while making sure the coats are thin and light. This will help your coats dry faster and will leave less visible brushstrokes once dried. You should make sure to try not to do too many brushstrokes either, since this will put bubbles in your paint – which would leave bubbles or pits in your dry, finished project. You should start painting on the inside edges and opening of the face frames first, working your way to the outer sides and then the actual face frame front. After you finish the inside of the cabinets, you should work on the drawer and door fronts, as well as any other separate wood pieces or moldings. Overall, it’s better to work on each thing in sections, and then use a paint roller to go over at the end. Try to make sure no paint accumulates in the crevices or corners.
When painting multiple coats, you should try and let each one dry for at least 4 hours, before starting on the next one. Doing some light sanding between each coat once they’re dry can also help the new coat to adhere better. While 2 coats of quality paint are usually pretty standard, you might consider adding a third. Kitchen cabinets can get pretty abused by just the daily use and the heat or grease from cooking, so it’s best to try and give them the most protection you can.
Step 5:
Once everything is completely dry and looks the way you want it to, it’s time to put all the hardware back in and replace everything. This is where labeling those bags will have come in handy, since you won’t be trying to match everything up randomly. Also, if you plan to use new hardware, this is where you would apply it then.
Alternative:
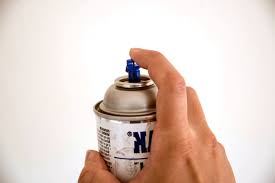
Spray paint is also an option. You would follow the same basic steps listed above. Just be mindful of overspray, and try to give yourself as much ventilation as you can. Try and do as much of it outside as you can.
Do you have any tips or tricks for when you’ve painted your cabinets? Have any other opinions about this post or painting cabinets? Let us know in the comments below! And as always, if you’ve decided this isn’t a project you’d like to do yourself, please give us a call or click the link below! As Cleveland and Lakewood, OH’s premium cabinet painting company we would be happy to chat!
{{cta(‘c090c646-c52e-4361-a9c5-8c86bce2fab0’)}}