TL;DR
- Painting a football helmet is for decorative purposes only; helmets should not be worn on the field.
- Prep work is crucial: clean the helmet, remove decals, and sand the surface to ensure smooth paint adhesion.
- Cover the helmet’s interior with tape and plastic to avoid excess paint.
- Hang the helmet for even coating, using a wire hanger or similar setup.
- Apply paint in light, short bursts, allowing each coat to dry before adding more. A second coat may be necessary, and a third if needed.
- Finish with a high-quality car polish and buff for a glossy, professional look.
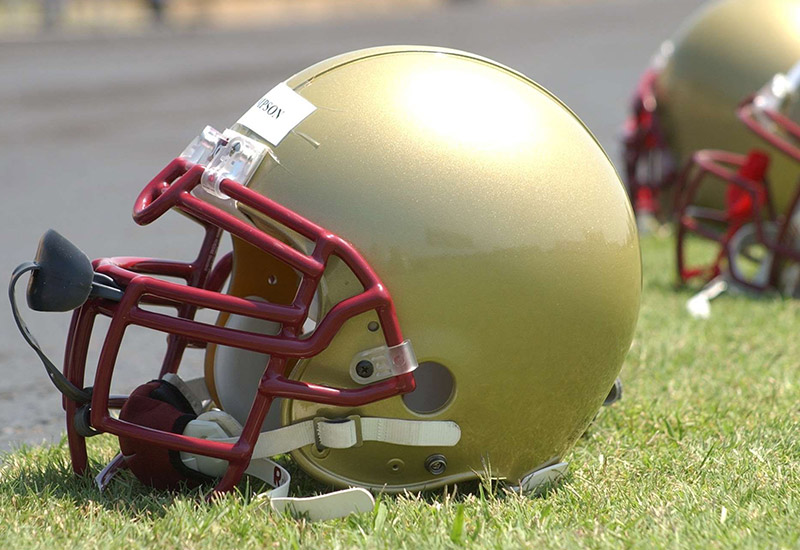
If you’re looking to restore an old team helmet or make yourself a cool decorative item, it’s important to know how to paint a football helmet. Note that this is for decorative purposes only and should not be worn on the field. If you’re looking for a more practical use, check out the National Athletic Equipment Reconditioners Association to find a licensed business near you. Or if you need help refreshing your home’s exterior, there are experienced painters near you who can help bring your vision to life.
As with any kind of painting, the prep work is just as important as the actual painting. Follow our steps below to help get the best results for your project!
Step 1: Scrape and Clean the HelmetScrape any decals or stickers off. Feel for any leftover residue, and make sure you remove that as well. Then wash the helmet using a cloth or sponge and some soapy water. Make sure to dry the helmet completely before moving to step 2.
Step 2: Sand the HelmetAfter your helmet is completely dry, start sanding to even out any gashes or imperfections and ensure a smooth surface for painting. Fine-grain sandpaper works best, and a sanding block can help reach divots in the helmet. Make sure to roughen up the entire surface so the paint adheres well. Remove any leftover dust with a tack cloth.
Step 3: Cover the InsideIf you don’t want excess paint to coat the inside of the helmet or other parts, use painter’s tape and plastic to cover those areas. Make sure you’ve taped appropriately without covering any areas you intend to paint.
Step 4: Hang the Helmet UpThe best way to ensure even coverage is to hang the helmet from something — like a clothesline or a bent wire hanger. You can also rest it on a candlestick holder or similar object so all edges are free. Once suspended and not touching any surface, you’re ready to paint.
Step 5: PaintingGood ventilation is crucial, especially if you’re not working outdoors. Protect against overspray using cardboard beneath or around the helmet. Hold the spray can about 8–12 inches from the surface and apply light, controlled bursts. Paint a thin, even coat and allow it to dry. Depending on the product, wait 15 minutes to an hour before applying the second coat. Allow this coat to dry overnight. Inspect the helmet and add a third coat if needed. Once dry, reapply decals and pads. For a professional finish, continue to the next step.
Step 6: PolishingUse a high-quality car polish such as Novus Plastic Polish, available at many auto body supply shops. Apply the wax evenly with a small cloth, focusing on small sections at a time. Once dry, buff the helmet to a deep shine similar to a custom car paint finish. Using a buffer attached to a drill makes the job easier.
Painting a football helmet is simple when you follow the correct steps. Always wear a spray-painting mask and remember to apply the paint quickly in short bursts — too much paint can cause drips and uneven coverage.
For more of a visual reference, check out this YouTube video. Have any tricks that you’ve used when painting your own helmet? Let us know in the comments below!