Painting isn’t necessarily as simple as one might think. There are many small tips and tricks that can make painting a house far easier. Personal familiarity with painting has shown that inexperience can greatly reduce the quility of a paint job but also kill the productivity of it. Some things that I’ve been able to pass on to my painting crew now that I’m a manager as opposed to a painter, should prove to be very helpful. Each painter has his own way he has figured out he likes to paint, but there are some general tips to help the actual painting process, but sometimes equally important, are the tips to help maintain equipment.
Painting Tip:
As far as the actual painting process, one very important thing each painter needs to learn and eventually master is cutting an edge. This is when two different colors meet at a point, say for example siding butts up to window trim, or simply when one color ends and you need to have a straight line. In order to cut an edge effectively, hold the paint brush like you would a pencil on the ferrule (the metal piece that holds the bristles to the handle) with the angled sash going top to bottom. Then after you have paint in the brush keep it roughly 1/4″ or so away from the edge then gently press down so that the bristles flare out slightly up to the edge, then drag downwards creating a nice straight line. In the long run this can save time and money since it eliminates the need for masking tape and the time it takes to place the masking tape and remove it after you are done. Then for more experience painters you can even learn to cut some edges with your roller very carefully which then decreases painting time that much more.
Prep Tip:
In order to prep a house properly you must seal up any cracks where water can get behind boards. To seal these cracks you want to use long lasting caulk. So first when you have a new tube of caulk, cut the tip off at an angle which allows you to have much more control of how the caulk comes out of the tube which in turn allows you to be more accurate and careful. However you must only cut off the very tip of the tube, leaving a hole about 1/8 of an inch or so. You will find that any significantly bigger hole will just leave you with messes of caulk. As for applying the caulk, have the angled tip almost flush with the area you are prepping then have a very consistent squeeze of the trigger and a smooth movement dragging the caulk gun down or accross the crack you are filling. This will help to create a nice even smooth line of caulk. Finally, if there is some excess, take a wet rag and gently wipe over the area in one motion giving the placed caulk a nice smooth look.
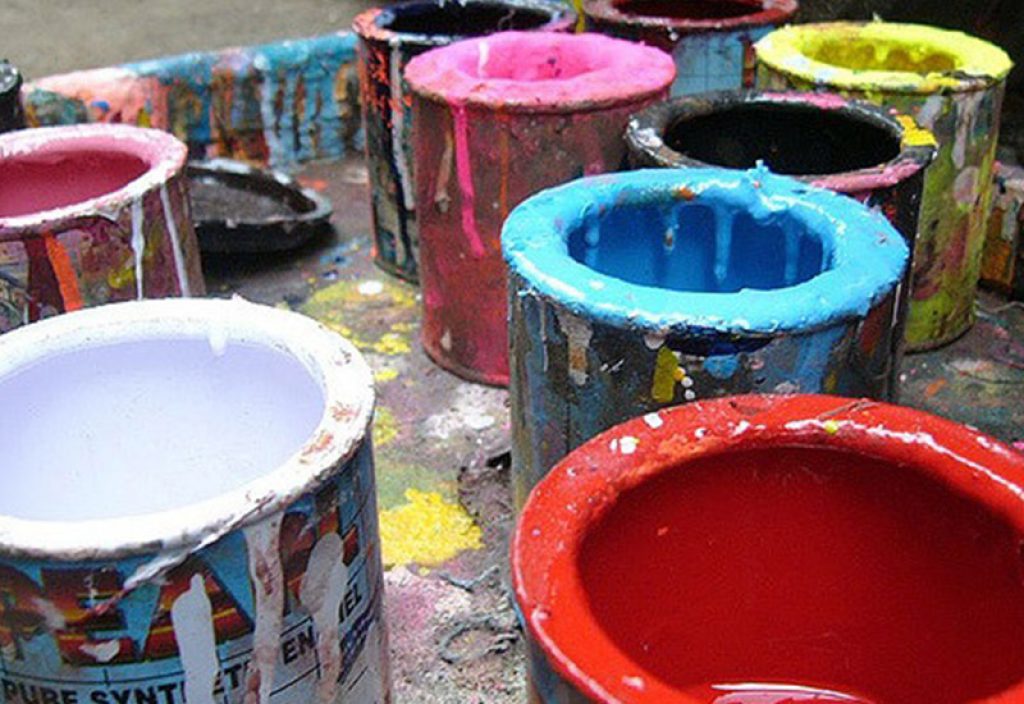
Maintanance Tip:
I can’t stress these enough, if a painter has clean workable equipment, their life will be significantly easier and will make the job much less frustrating and more bareable. One piece of equipment you should keep clean is your bucket. When old paint dries up and sticks to the insides of the your working paint bucket it can turn into dried paint chips mushing up in paint you are about to apply.
When cleaning, fill the bucket less than halfway and take your five in one to use the scraping blade to scrape off all of the paint thats accumulated inside the bucket and off course dispose of it properly. This leads us to the five in one. This is more important to keep clean. When you are scaping, or using it to clean out a roller cover, or simply using the point to score out some old caulk, having a tool that is all covered in old paint, wet paint, or even wood filler can make some of these simple task very difficult.
Finally, the most important tool you need to keep clean is your paint brush. Now that your brush is all full of paint after the day, you must clean it out. You have a few options here, you can either use the customers garden hose with permission, or what I prefer is to take it home so I can make sure I can get it perfectly clean. Either way, the first thing to do is simply spray it with water to get the worst of the wet paint off the outside bristles. Then take a five in one tool or just use your fingernail to scratch/scrape off the the paint that has collected and possibly begun to dry at the base of the bristles by the ferrule. Get all of this off, then there will most likely be some paint still clinging to individual bristles which you can break up and get off by using your thumb to rub the bristles against each other forcing the paint to break up and fall apart. Then spray all of the loose paint off with water. Next, hold the brush by the bristles gathering them up in your hand, then gently shoot some water down them at their tips into the base of the bristles. This helps to get any wet paint out that has collected inside the brush near the base of the bristles. The goal here is to have the water run through the brush and come out completely clear.